250
250
UKG Pro WFM - Employee
Logging in to Pro Workforce Management
- Navigate to www.office.com and sign in with your County credentials.
- From the ‘Menu’ select ‘Apps’ then select the Pro WFM icon.

Pro WFM Homepage – Open Timecard

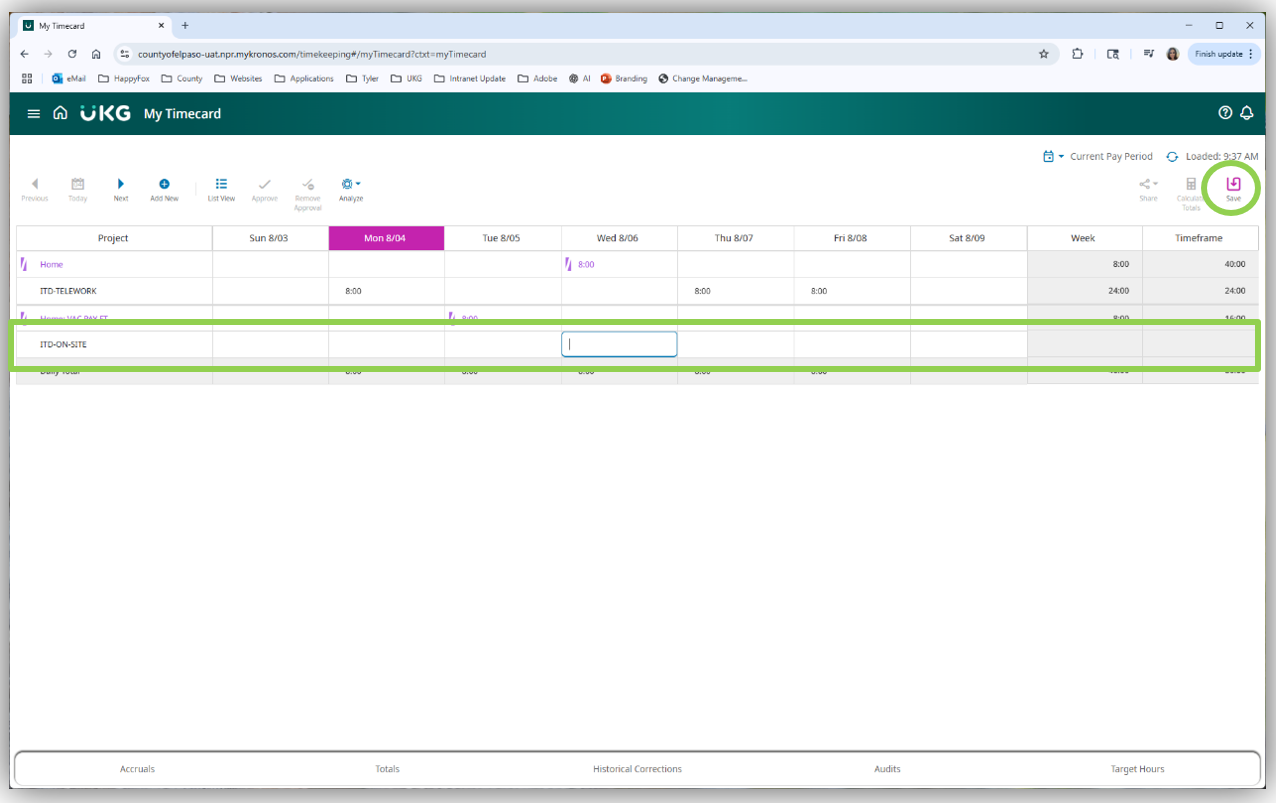
Timecard Navigation
Majority of employees have a prefilled timecard as shown below.
- The biggest change is that you can only see one week at a time per pay period. This cannot be changed.

- The ‘Previous’ and ‘Next’ buttons allow you to navigate each week of the pay period.
- The ‘Add New’ button allows you to create rows for paycodes and/or transfer tasks/activities.
- The ‘Approve’ button allows you to approve your timecard and the ‘Remove Approval’ removes your approval and allows you to make changes (as long as your manager has not approved your timecard).
- The ‘Calendar’ icon allows you to navigate to different pay periods.
- The ‘Save’ button allows you to save any changes you have made to your timecard.
6. The ‘Accruals’ tab allows you to view all your accruals (vacation, sick, etc.).
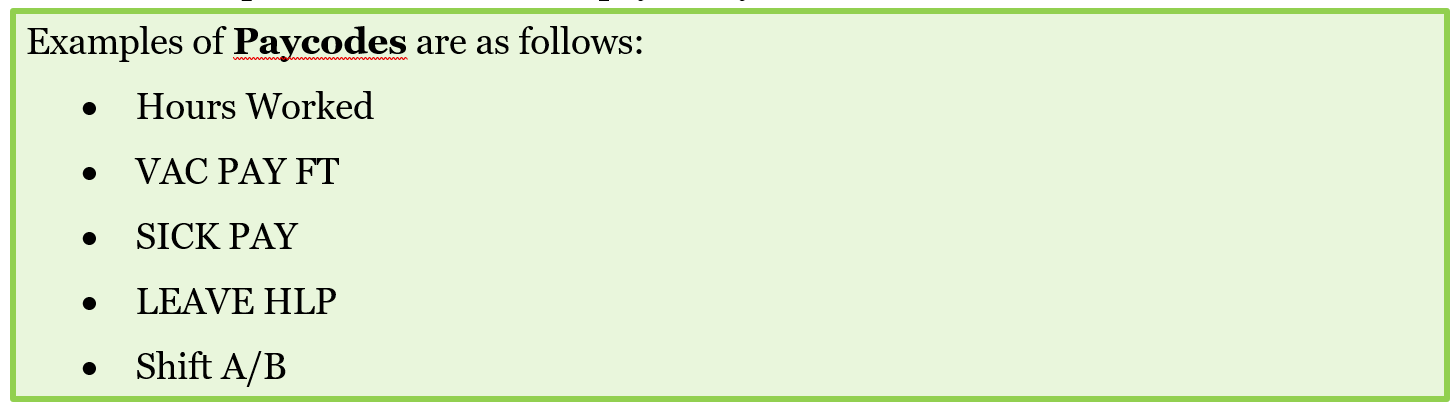
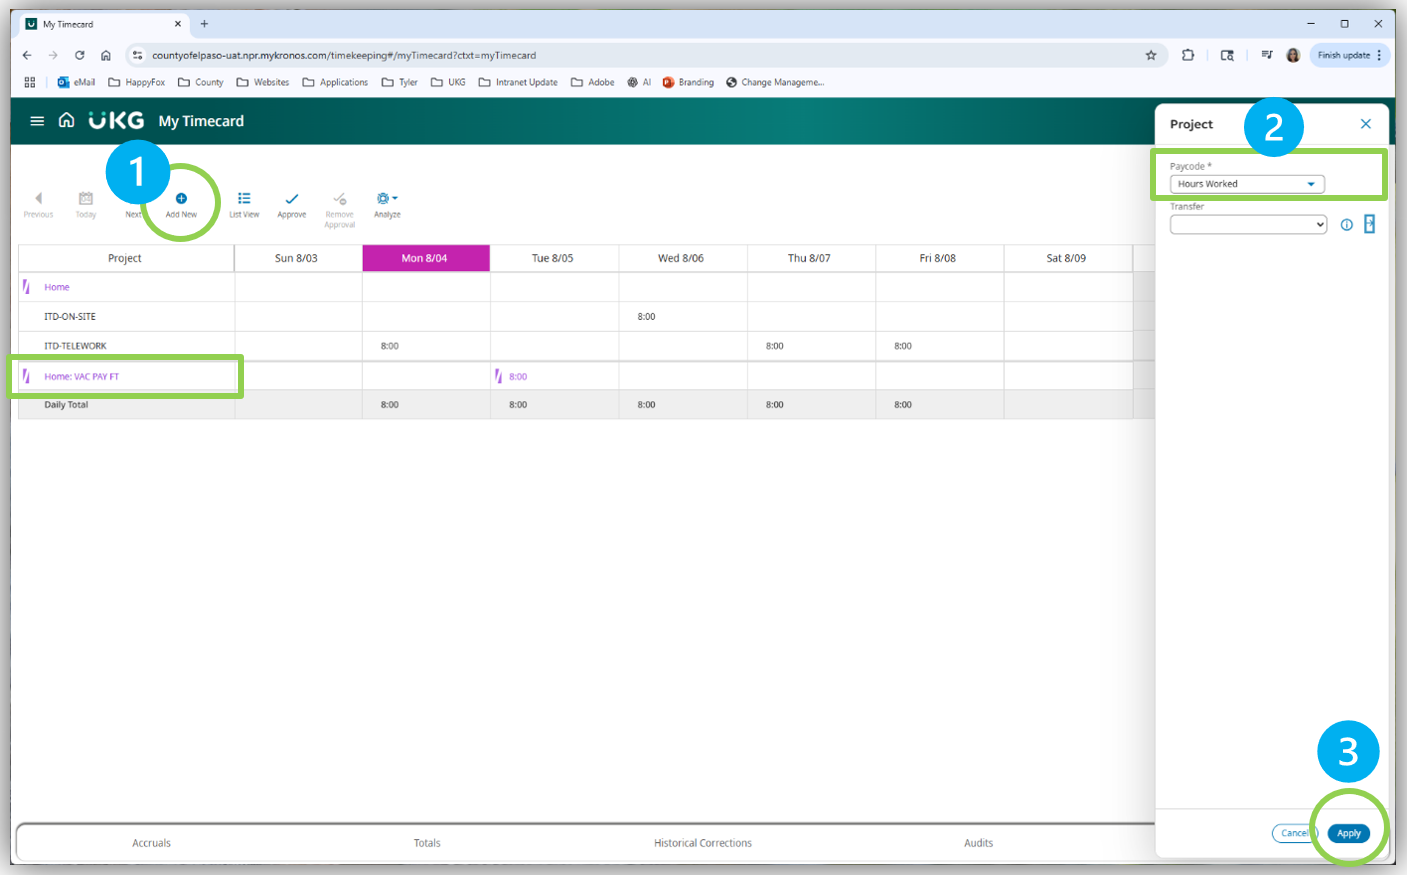
Adding Paycodes to Timecard
When selecting ‘Add New’, a screen will pop up to the right of your screen. Here you select the drop down and select the paycode you need to add.
Once you select a paycode and select ‘Apply’ on the bottom right, a new row will populate for that paycode. Enter your time and always remember to ‘Save’.
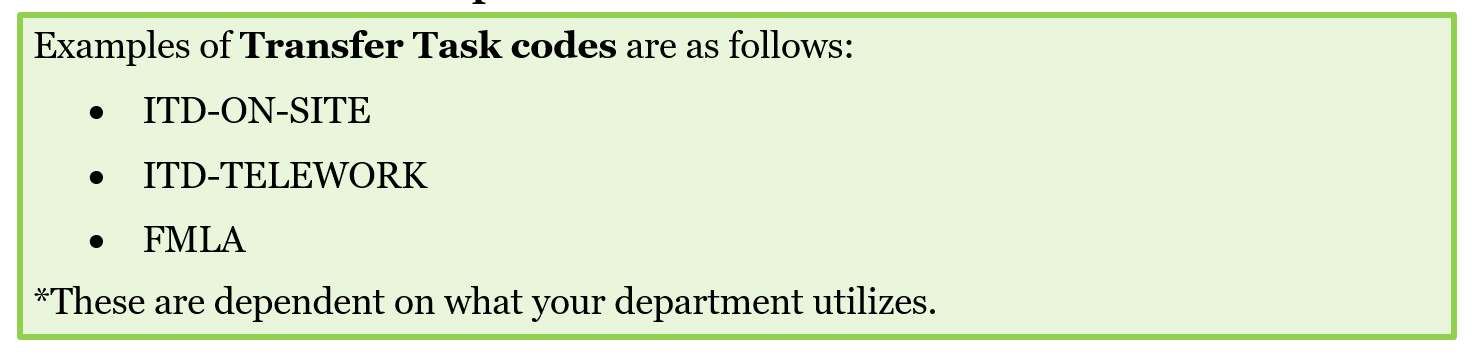
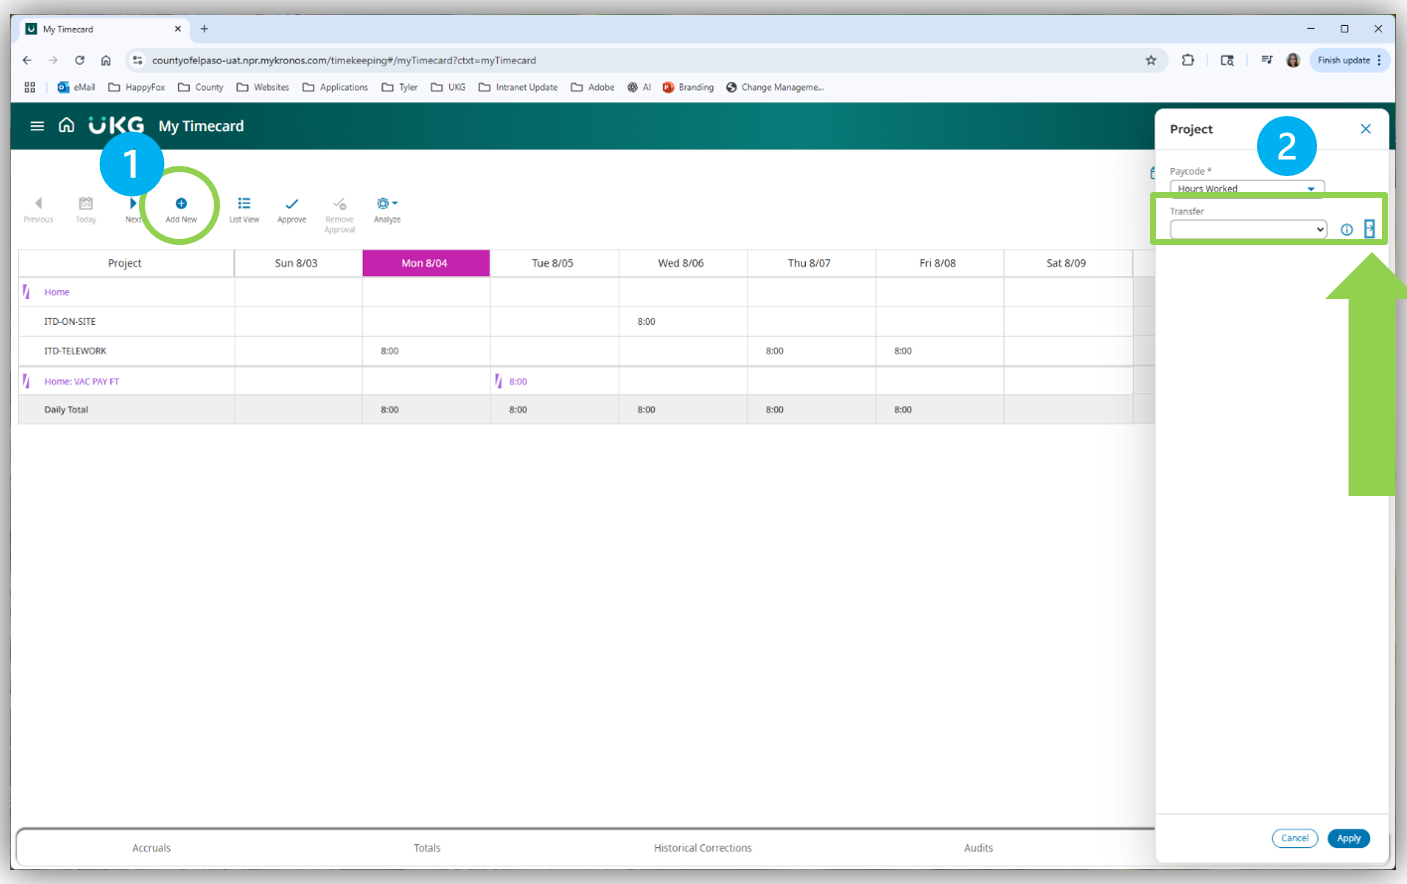
Adding Transfer Codes to Timecard
When selecting ‘Add New’, a screen will pop up to the right of your screen. Here you can add Transfer codes. To find your transfer code, select the arrow pointing right beside the Transfer dropdown.
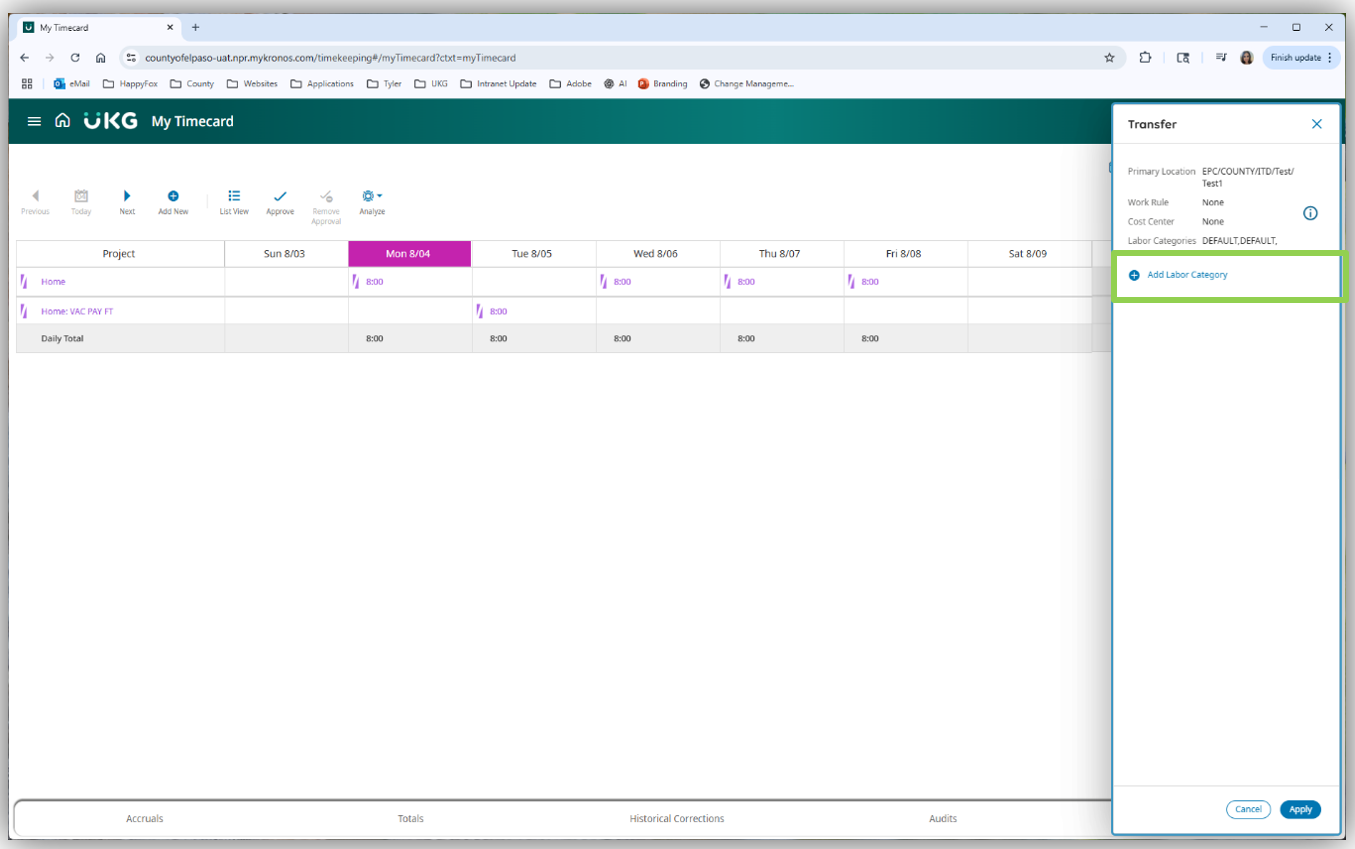
Next, you will select ‘Add Labor Category’.
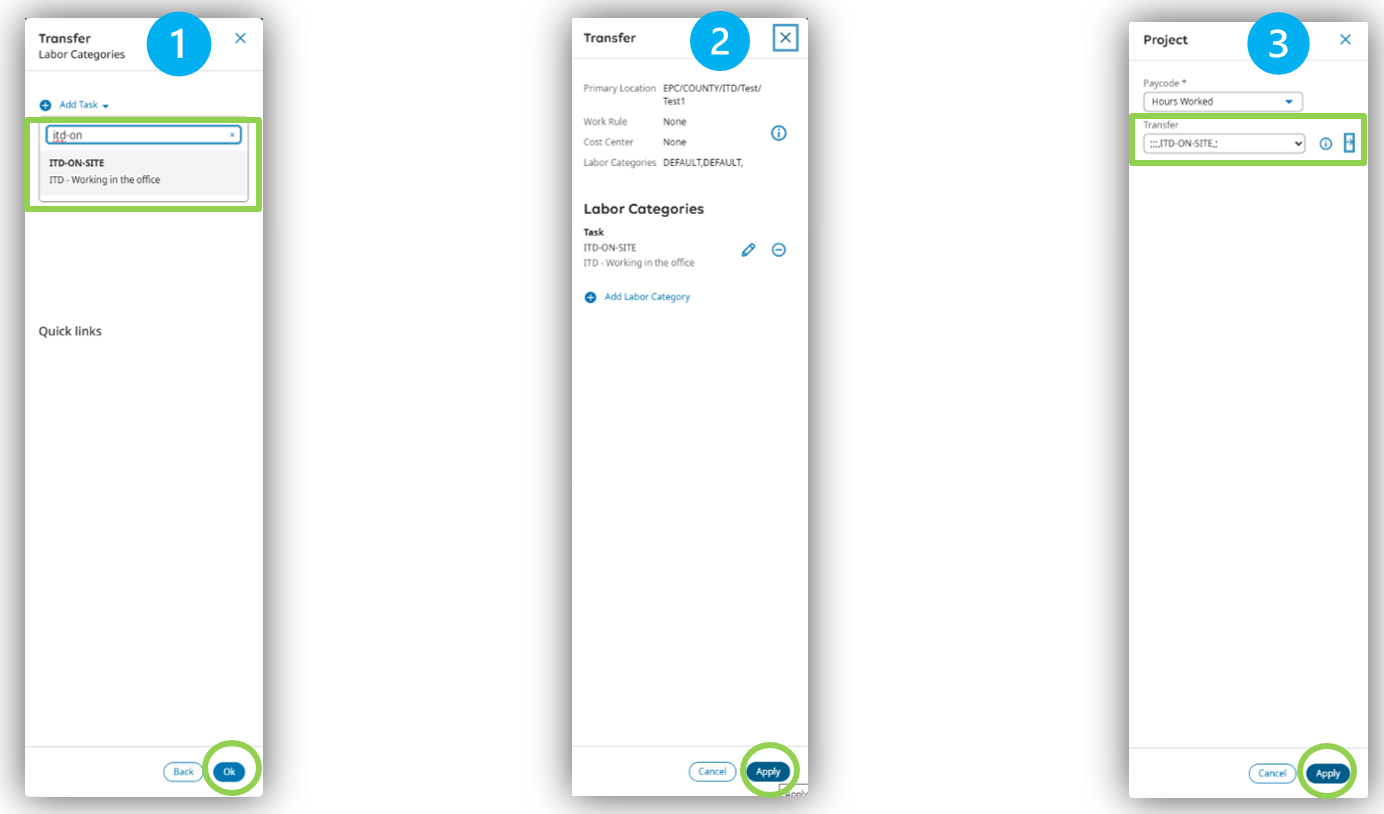
Here you can select to add either a Transfer Activity or a Transfer Task. For this example, we will select ‘Add Task’.

- In the search bar, start typing the transfer task code you are looking for and once it populates, select it. Then select, ‘Okay’ on the bottom right.
- Verify that is the correct transfer task code, then select ‘Apply’.
- Now this transfer task code will be saved on the ‘Transfer’ dropdown, so you will not have to do these steps for this task. Select ‘Apply’.
Now that the transfer task code has been applied, enter your time for that code. Remember to adjust any other time for that day as needed. Once done, select ‘Save’.